How To Hang A Group of Pictures in 10 Easy Steps:

Get yourself some picture hanging tools! The 'Hang and Level' can be bought at any old Home Depot or Canadian Tire store. It takes the guess work out of where to hammer the nail. And speaking of nails, don't! Get the 'Monkey Hook' picture hangers. They are super easy to use and work like a charm!

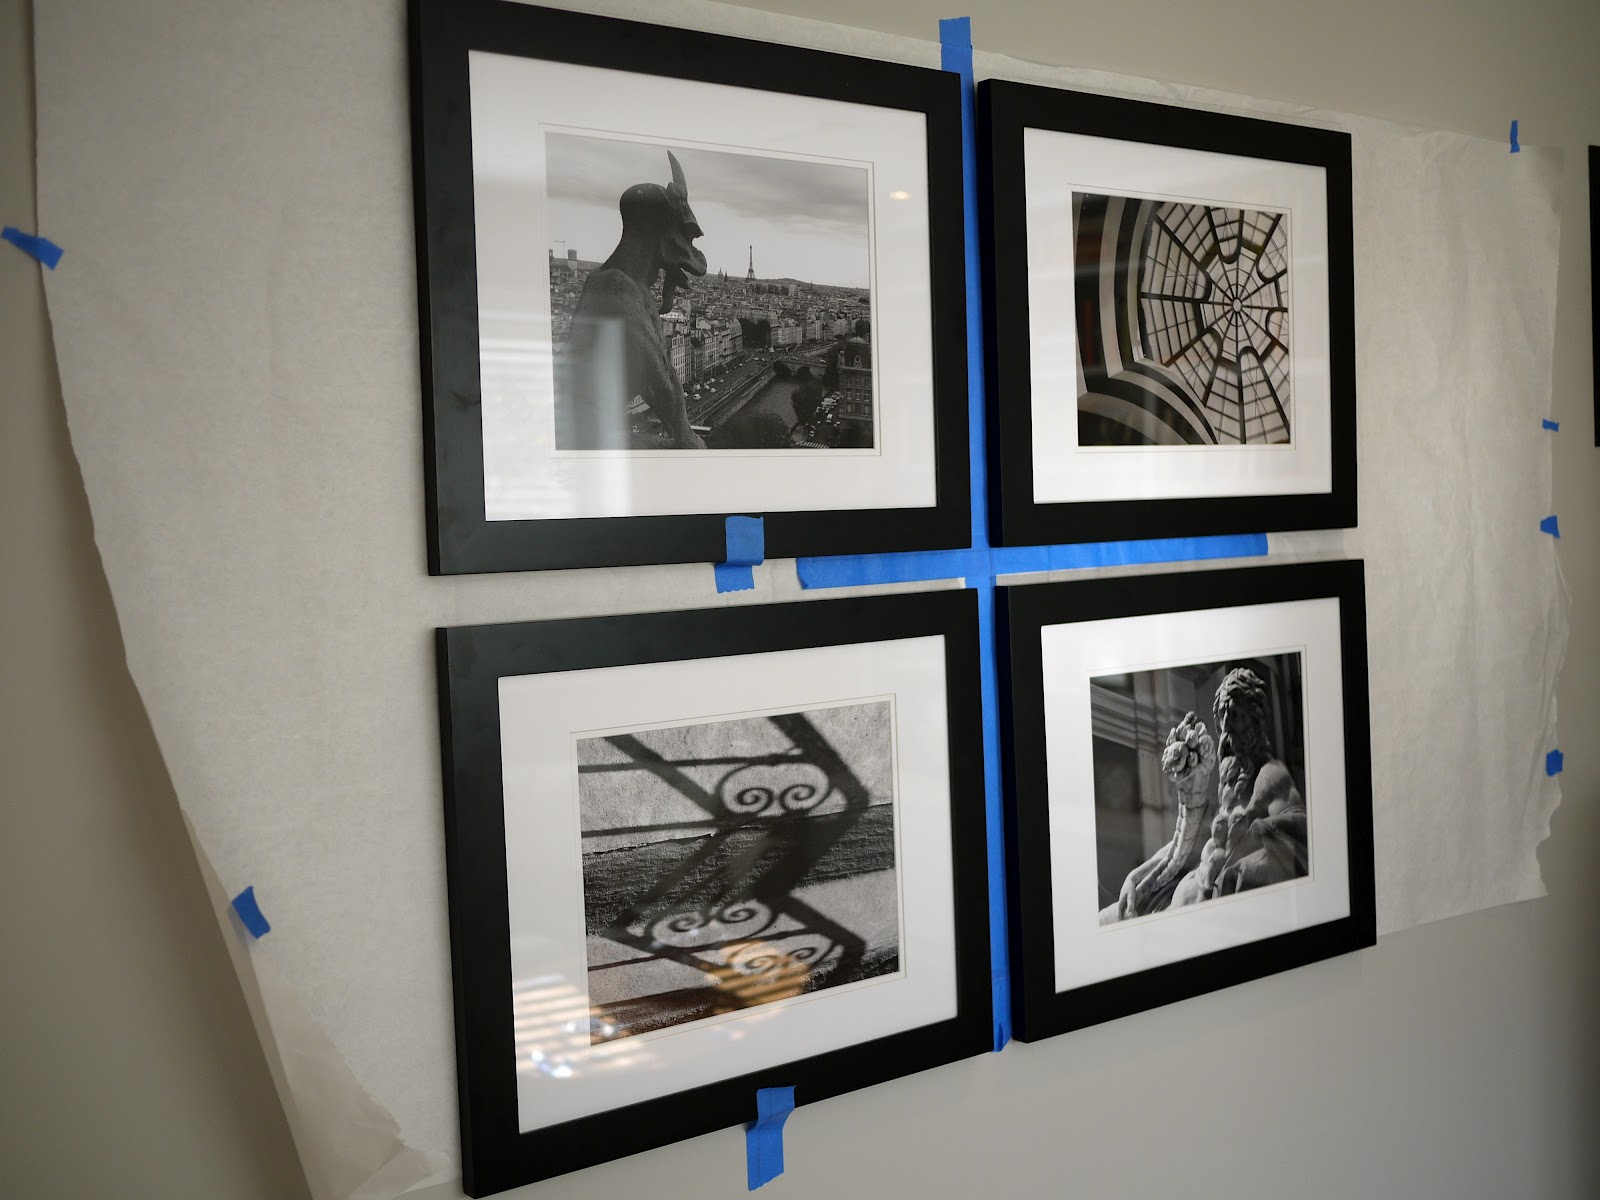
Lay your grouping of pictures on a big sheet of paper on the floor. Trace around the frames. (I should have had a wider piece of paper as my pictures didn't quite fit.)

In addition to tracing around your photos, add the extra step of putting down brightly coloured tape for a more visual cue.

Remove the pictures from the large sheet of paper on the floor. Now tape the paper to the wall where you want the pictures to hang. Get your helper to use his level at least 432 times (both horizontally and vertically) to make sure it is perfectly level. Move the paper around on the wall several times until it is exactly where you want the pictures to hang. Insist that your helper use his level 12 more times. Ask your helper "Is it level?" at one minute intervals. Remind him of how you are about the Christmas tree being straight. Ignore your helper's groans.

Measure 57" from the floor. The centre of every picture, or group of pictures, should be exactly 57" from the floor. It is the perfect viewing height. Oops! We are off by a couple of inches. Good thing we measured!

Get your helper to position the first picture with the 'Hang and Level' tool. Remove the picture.

Push the button to make a small mark in the wall. That is where to put the nail!

Now hang the picture in the perfect spot!

Repeat steps 5 through 8 until your group of pictures are perfectly hung on the wall. And be pleased you haven't gotten divorced or murdered anyone in the process!

Step #10
Remove the sheet of paper. Stand back and admire your handiwork!
Renovation Update:

The blinds have been installed in the TV room!

The drapes have been installed in the living room!
No more bed sheet hanging in the window!
(This picture does not do these drapes justice. They are beautiful and we love them.)

Our computer is now tucked in under the stairs.
In Other News:

Daisy's favourite TV shows are about birds.

Spring has not yet sprung in Squamish.
Enjoy your Tuesday everyone!